Prepared by: Nathan Furnas, Department of Anthropology and Ancient Mediterranean Studies, Student Research Assistant
Step 1A: Cutting
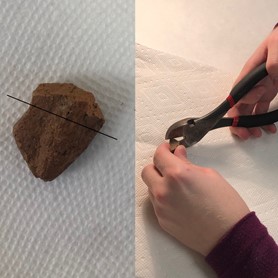
Example of a sample being cut.

Cutting a sample with the rock saw.
After receiving the sample, it is sorted and prepped for cutting. In the image, the black line marks where the sample will be cut. For most sherds, wire cutters work fine, but use of a rock saw may be necessary under certain circumstances. For NAA, only a small portion of the sample is needed, typically 1 cm2.
Step 1B: Drilling (Alternative to Cutting)
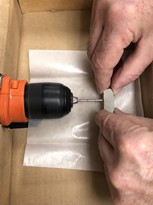
Drilling into a pottery sherd.
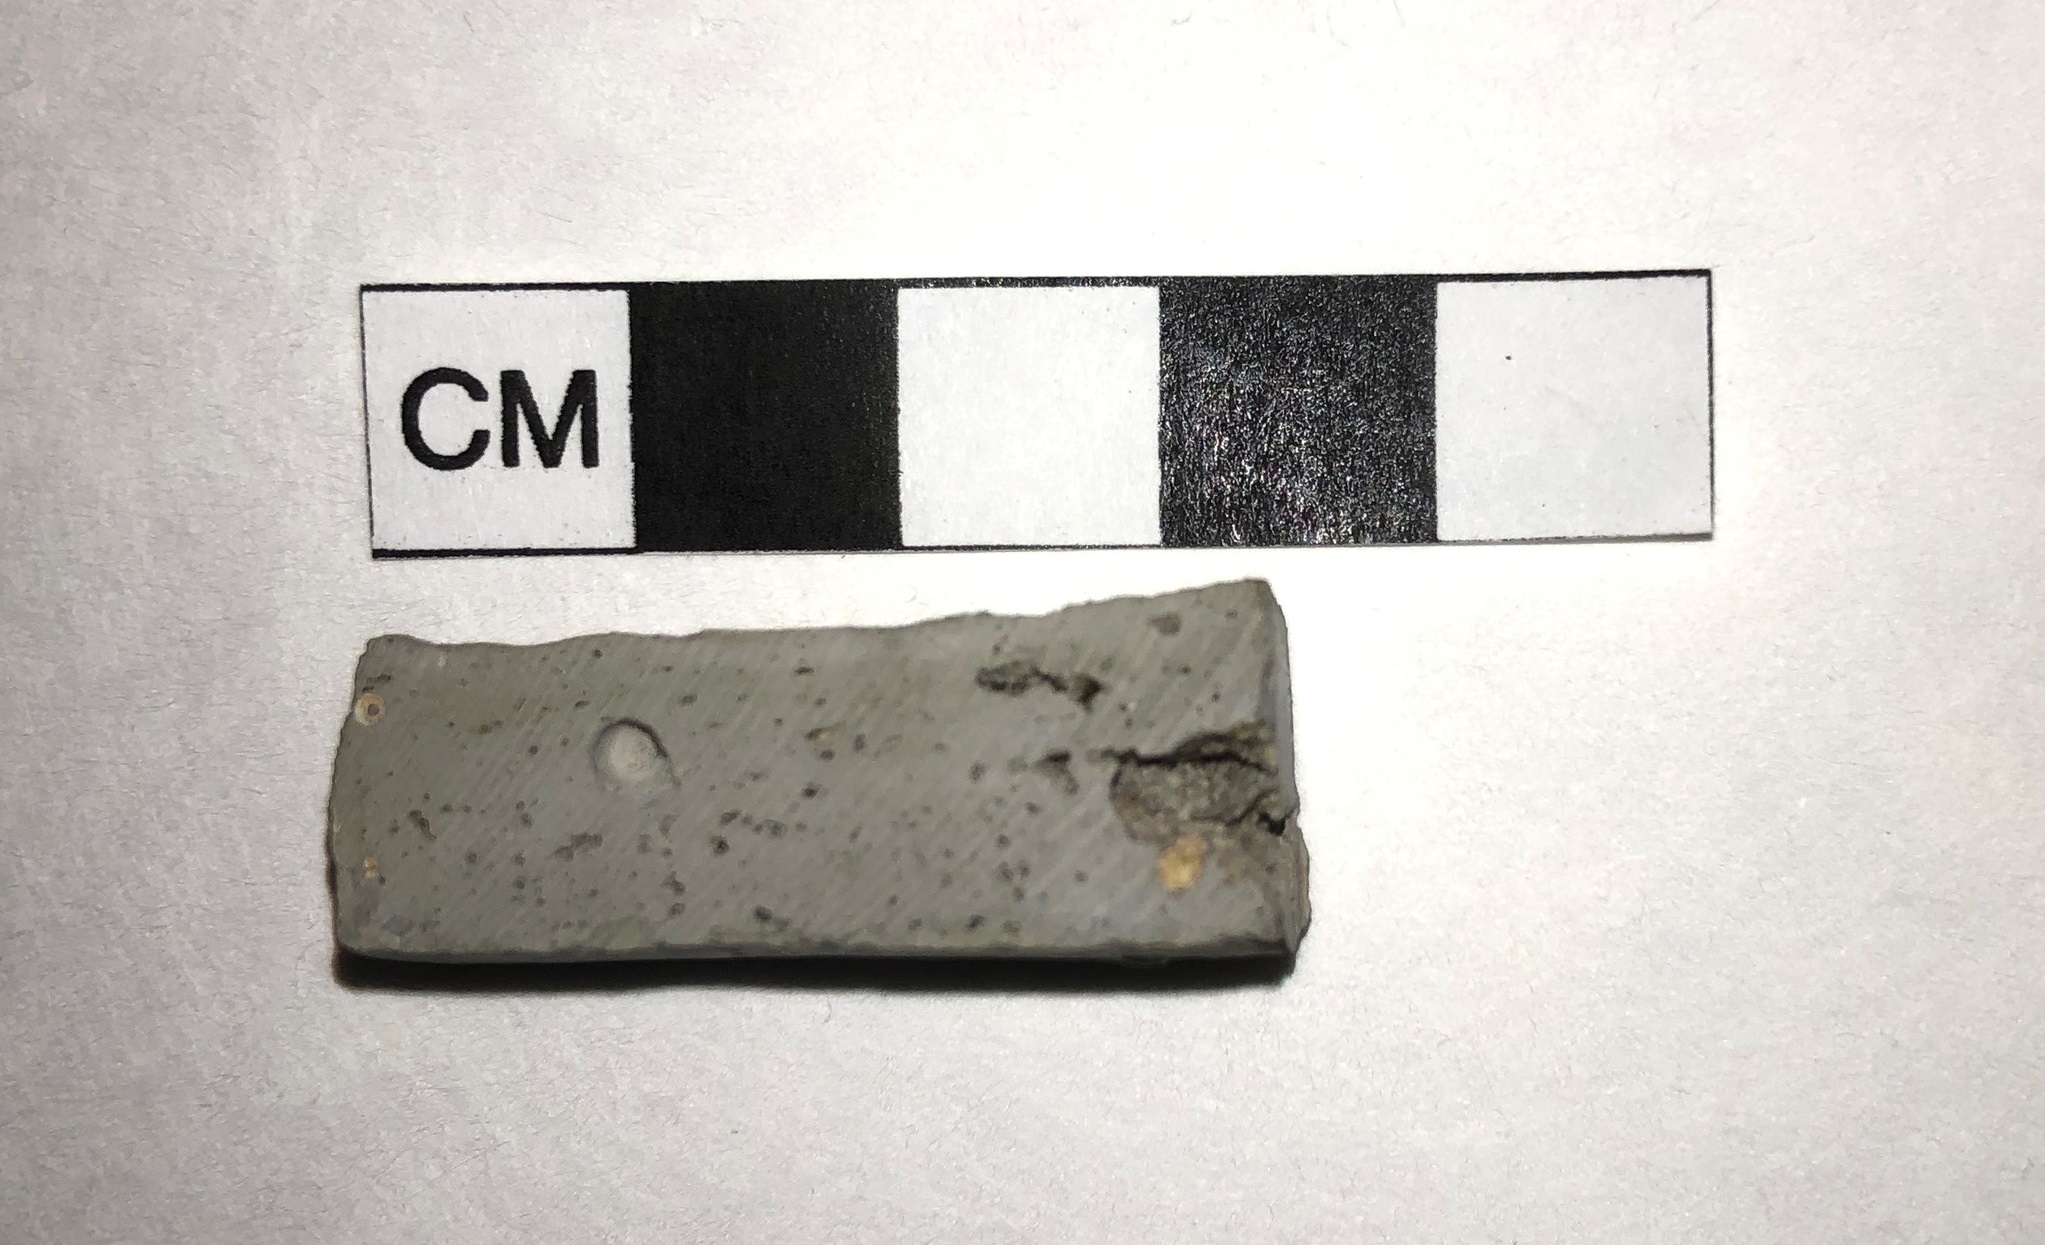
Approximate size of the drilled hole.
Drilling is an alternative means of collecting sample powder. This technique is mainly used on sherds that require minimum damage and intact artifacts, such as bowls and figures. Otherwise, the clipping method is preferred. The drill method uses a power drill with an 1/8- to 1/16-inch drill bit. The drill bit is usually made out of tungsten carbide to prevent contamination. Multiple holes may be necessary to collect enough powder. See Instructions for Drilling for details.
Step 2: Burring and Cleaning
Lab tech burring the surface of a sherd.
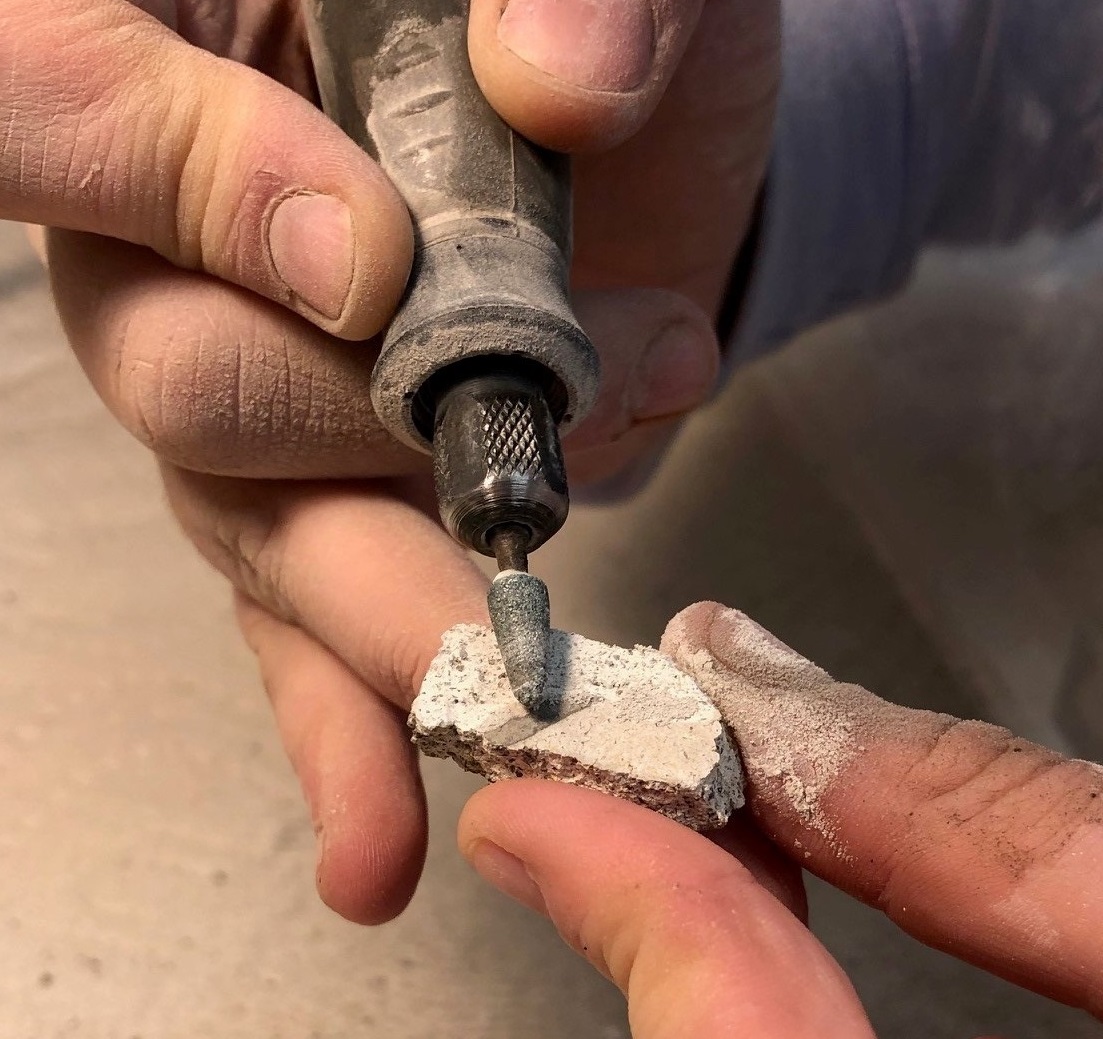
Close-up of burring.
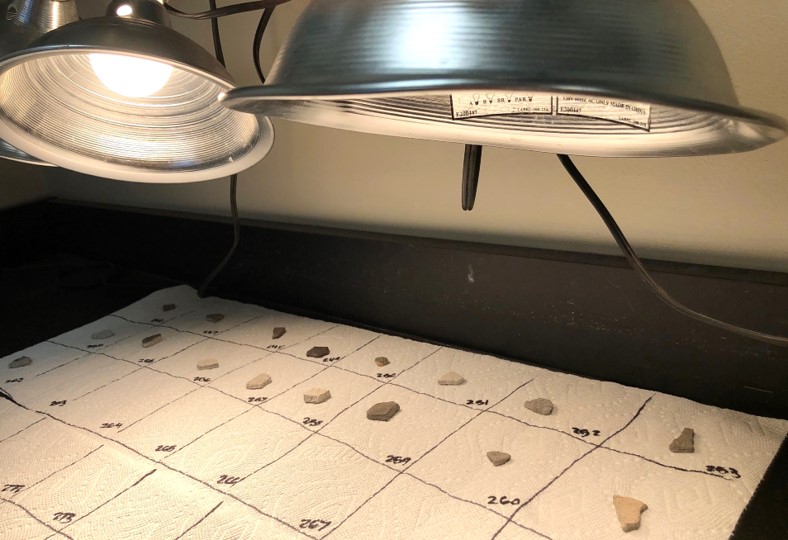
Heat lamp used to dry samples after washing.
The sample surface is burred. This process helps get rid of any paint, glaze or other contaminants on the sample, which would affect the results of reading material that the sample is made of. Afterwards, the sample is then rinsed and put under a heat lamp to dry.
Step 3: Grinding
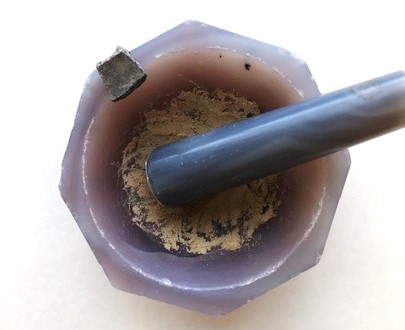
Grinding sample with agate mortar and pestle.
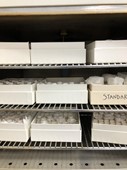
Samples in a drying oven.
For NAA to work, the sample must be ground up into a fine powder. After the samples are ground, they are placed in vials and put in an oven. The samples need to remain in the oven for at least 24 hours, this is to get rid of any water weight that the sample might have picked up.
Step 4: Weighing

Aanalytical balance used for weighing samples.
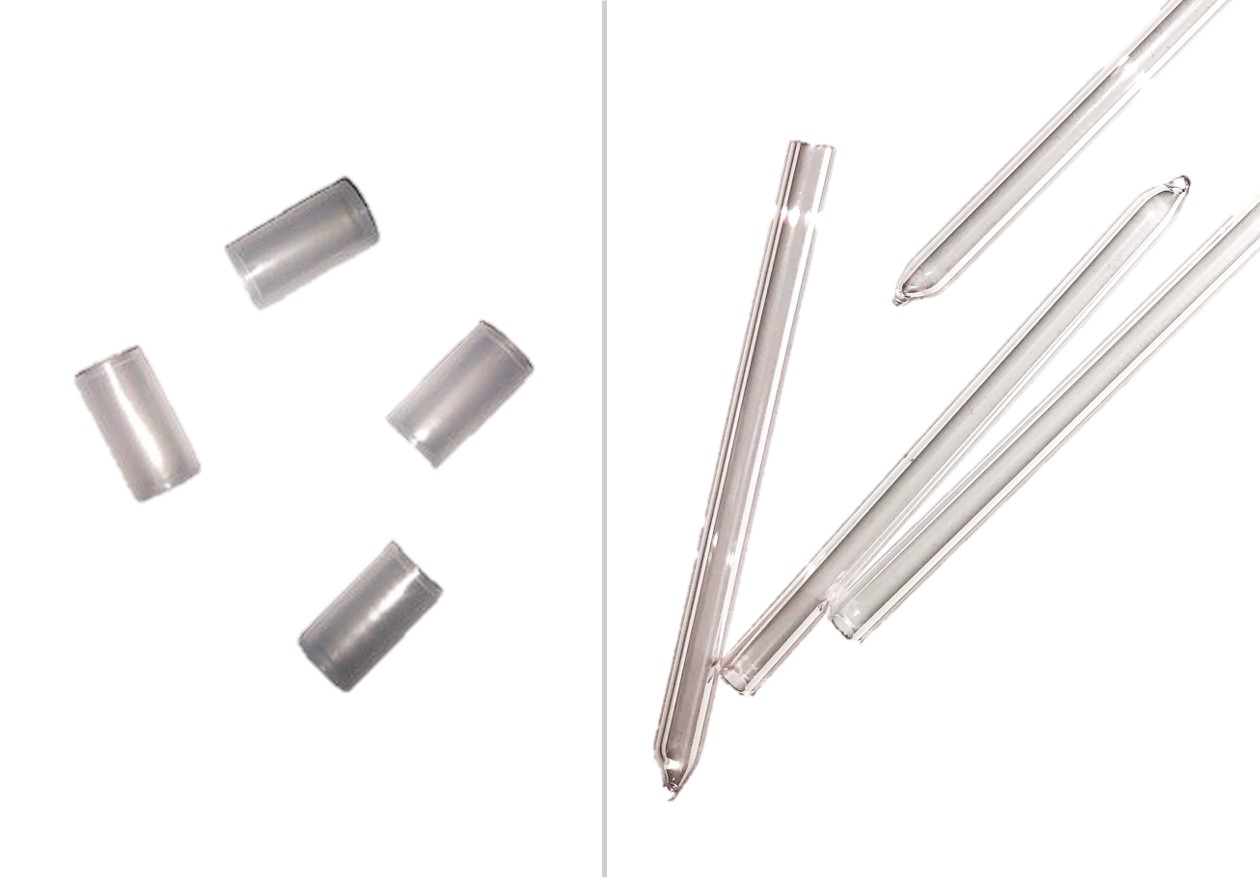
Example of polyvials (left) and quartz vials (right).
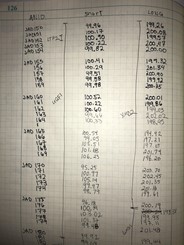
Logbook with recorded weights.
Two analytical samples are weighed into labeled vials. One for short irradiations (in polyvial) and one for long iradations (in quartz vial). The shorts are typically 100 mg and the long are typically 200 mg. After weighing. They are recorded in logbooks for later use and archival purposes.
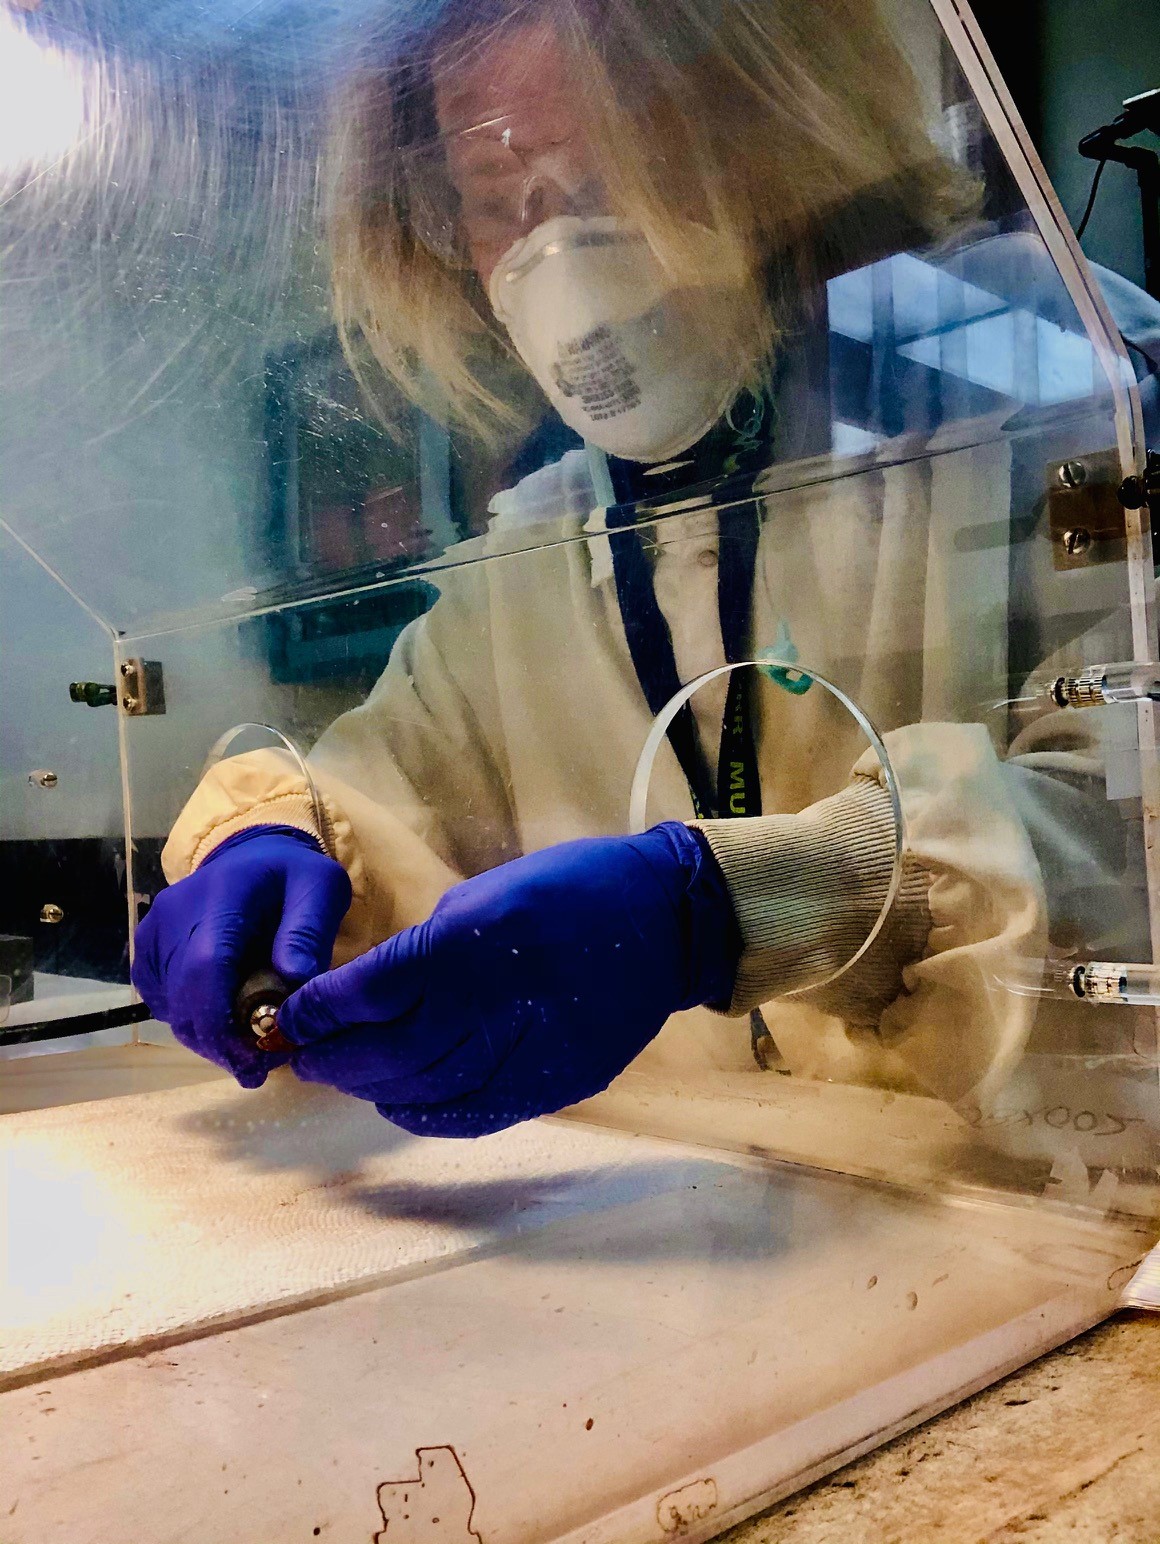
Step 5: Sealing
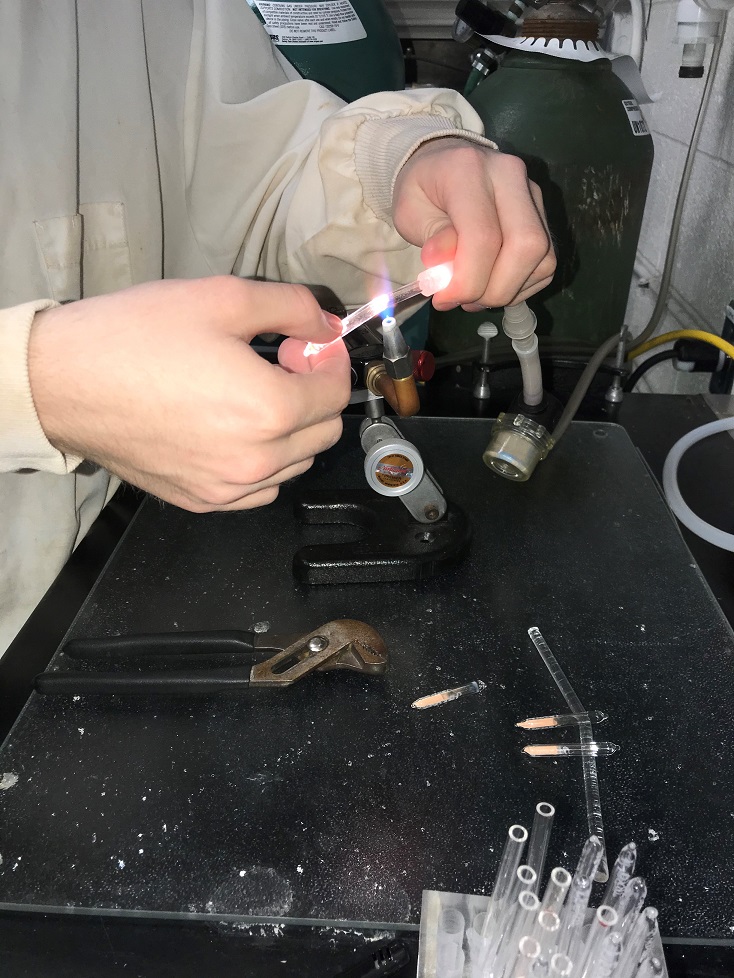
A lab tech flame sealing a quartz vial.
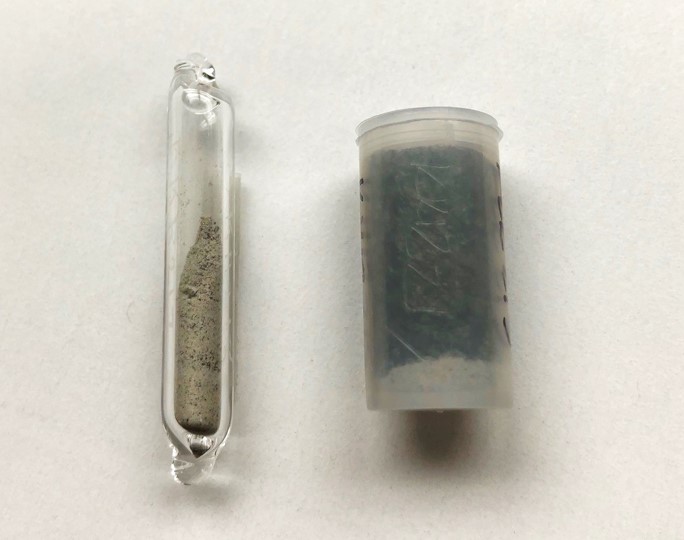
A finished sample ready for irradiation.
To prevent contamination, both samples are sealed. The short vials are sealed with a foam stopper and cap. The long vials are flame sealed. First, the air is gently suctioned out of the vial, and then the vial is sealed using a torch. The samples are then ready for irradiation in the reactor.